 Knowledge Library
Decision in brief
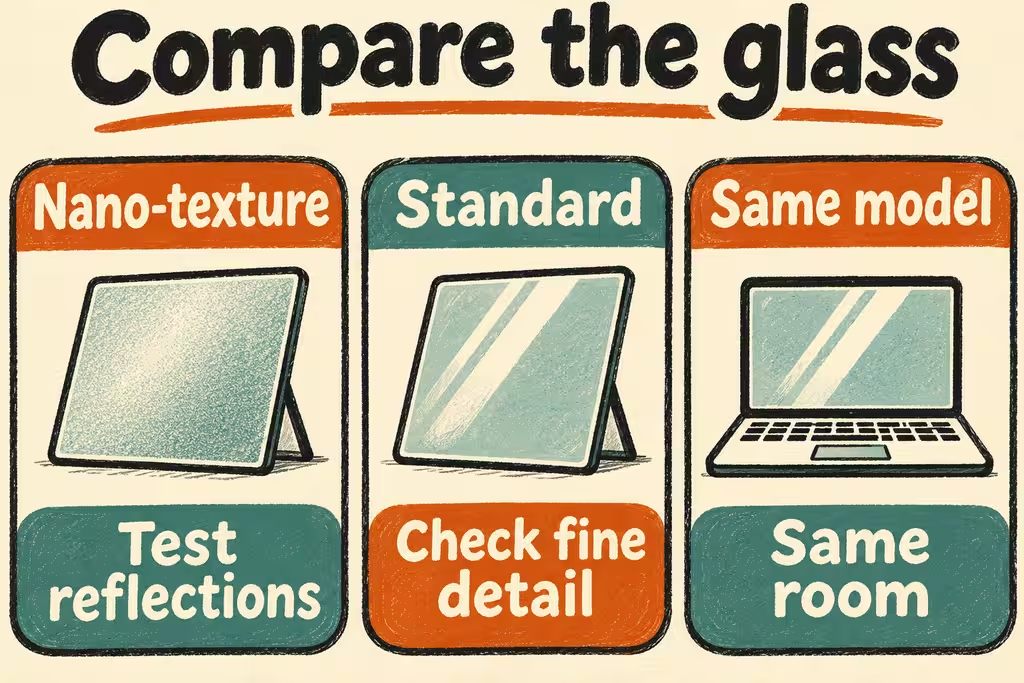
Choose nano-texture if reflections regularly cover detail that you need to see and the same MacBook Pro model with nano-texture makes that content easier to use. Choose standard glass if you can control the light and prefer the way the same fine text, colors, or dark scenes look. Decide within one display family so the glass is the variable you are testing.
Which MacBook Pro nano-texture display are you comparing?
Apple lists a nano-texture option on the 14-inch M6 MacBook Pro with Liquid Retina XDR. Apple also offers standard glass and optional etched nano-texture glass for the M5 Pro and M5 Max MacBook Pro with PROLED XDR, listed in 14-inch and 16-inch sizes. Confirm the exact model and selected glass on your regional order screen. Compare PROLED with PROLED or Liquid Retina XDR with Liquid Retina XDR before comparing the larger panel families.
Apple's PROLED technical paper describes an antireflective coating for standard glass and an etched finish to scatter reflections on nano-texture. That difference is most useful to judge with your light source, viewing angle, and typical content. Apple's cleaning instructions specify its polishing cloth for nano-texture. Check the cleaning requirements for the exact finish you plan to order.
| Where and what you work on | Sample to compare | How to decide |
|---|---|---|
| Shared space with uncontrolled windows | Normal-sized text and code in the brightest troublesome position | Choose the finish that makes the reflected area readable without moving seats or raising brightness |
| Controlled desk for typography or photo work | Small text and one familiar unedited image | Compare apparent edge detail and the rendering you need at your normal distance |
| Dark video or color work | A sequence with near-black detail and bright transitions | Use matching display presets and record whether shadow distinctions remain visible |
| Many work locations, no sustained reflection problem | Ordinary document under normal room lighting | Keep the default finish if the other does not improve a recurring task enough to justify the change |
Two HN threads identify what to control
jborichevskiy expected the new PROLED model's brightness and nano-texture combination to be useful outdoors. That comment was anticipation rather than a measured comparison. Match brightness when you test the glass, then try each unit at its actual setting for your brightest location.
In an earlier thread, trueno reported liking nano-texture generally but choosing standard glass after observing a familiar photo on a coworker's nano-texture MacBook. Bring one image from your own workflow and inspect dark detail and familiar colors before deciding.
Rehearse one decision with matching MacBook Pro units
- Record the model, panel type, size, glass finish, and price for both candidates. Set the same resolution, reference profile, and brightness where possible.
- Use the same text, photo, and dark scene in controlled room light, then in a position with your typical interfering light. Repeat at your actual working distance and angles.
- Score text readability, reflection interference, and dark detail for both. Compare the surcharge and manufacturer cleaning instructions after completing the viewing test.
- Choose nano-texture only if it improves readability in your recurring difficult light and still passes your text or color checks. Stop and repeat with matched units if one screen has a different panel, preset, or brightness you cannot account for.
General MacBook mentions cannot identify which glass option the writer used. The side-by-side test compares configurations under the same lighting.